
How to Save Your Microsoft Planner Projects When the Owner Leaves? Have you ever been working on a project in Planner and suddenly realised that the owner of the plan has left the company? Or maybe you need to add new members to your plan, but you don’t have permission to do so? If you have faced these situations, don’t panic. In this blog post, I will demonstrate how to transfer ownership of a plan in Planner using a straightforward technique that anyone can follow.
How it works
Microsoft Planner uses Microsoft Entra ID groups (Azure Active Directory “AAD”) to manage membership. This means that if you know the Microsoft Entra ID group that is associated with your Planner plan, you can change the owner of the plan from the Office 365 admin centre
But what if I don’t know the group name?
We can change the ownership using the group ID from the Planner board.
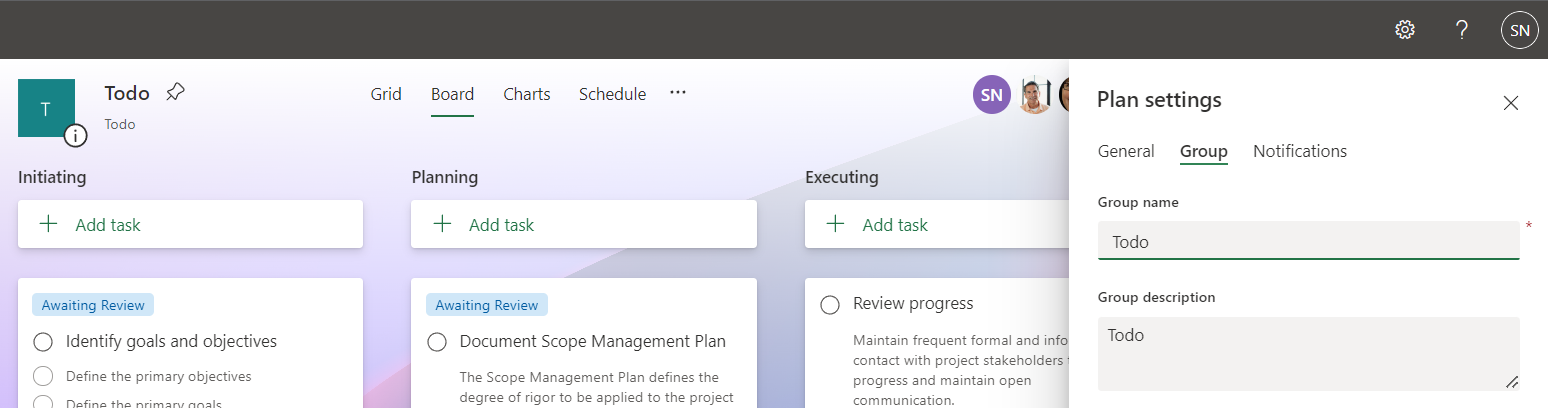
Finding the Group ID of Your Microsoft Planner
The first step is to find the group ID of your plan. This is a long string of numbers and letters that identifies your plan in the Office 365 admin centre. You can find it by looking at the URL of the Planner board.
For example, the URL for the Planner board called “My Plan” might be:
https://tasks.office.com/contoso.com/en-US/Home/Planner/#/plantaskboard?groupId=<group_id>&planId=<plan_id>Group ID is the part of the URL between the groups/ and /plans/ parts. In this example, the group ID is <group_id>.

Change the Owner of Your Microsoft Planner
The next step is to change the owner of your plan. You can do this by following these steps:
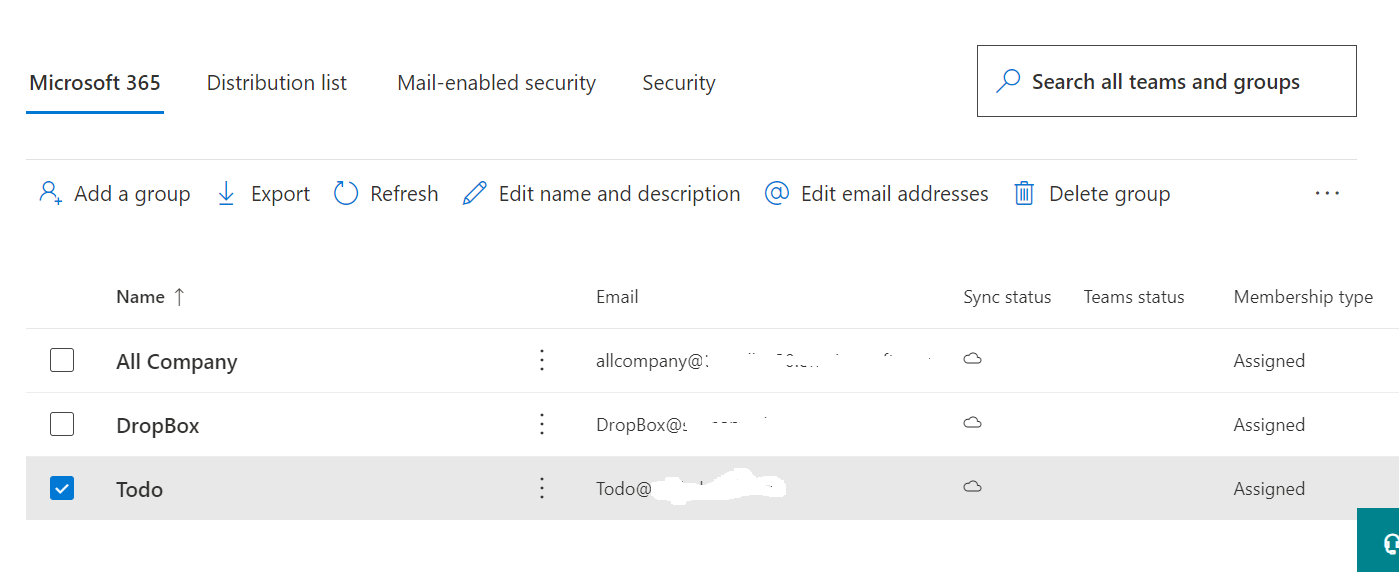
- Go to the Microsoft Entra ID website.
- Click on “Groups” and then “All groups.”
- In the “All groups” list, search for the group that has the group ID of your Planner plan.
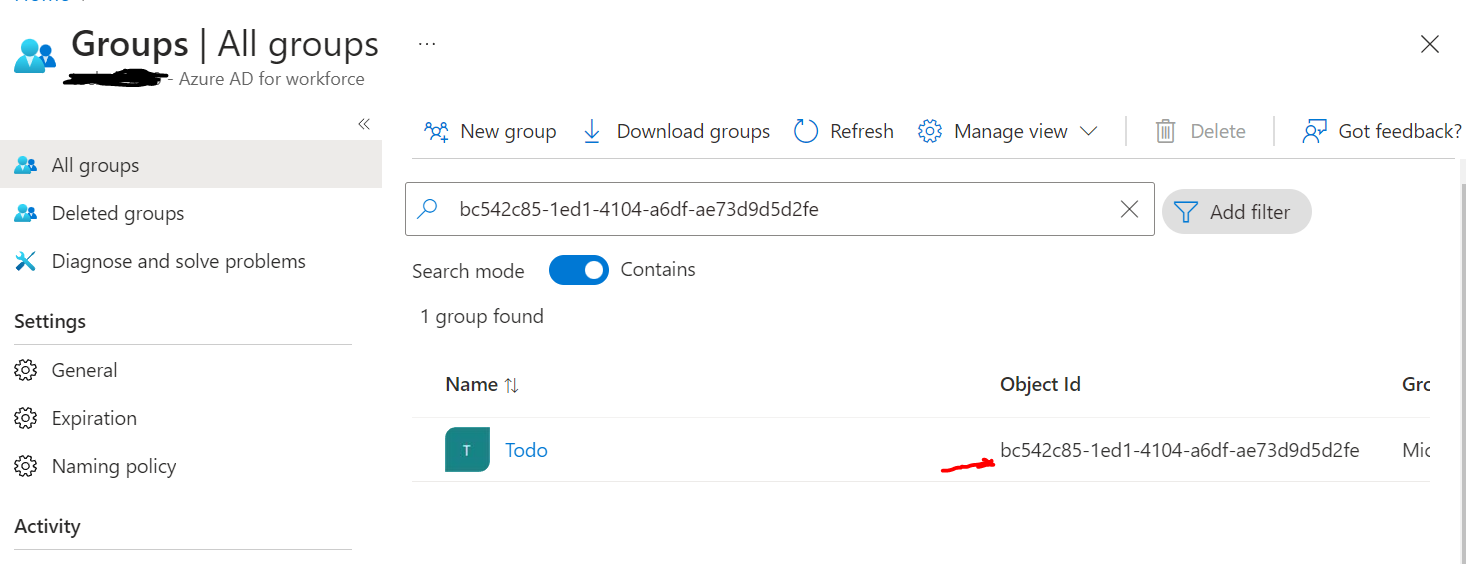
- Click on the group name.
- In the “Group settings” section, click on “Owners.”
- Click on the “Add owners” button.
- Enter the email address of the person whom you want to give ownership of the Planner to.
- Click on the “Save” button.

That’s it! You have now successfully transferred ownership of Microsoft Planner